The great thing about a hardwood floor is that once it starts to look tired and a little worn you can simply refinish it to bring it back to its former glory and have it looking as good as new. Whereas other types of flooring aren’t designed to last forever, a hardwood floor, if looked after properly, can last a very long time and may never need replacing. So how often should your hardwood floor be sanded and refinished and why should you do it? Why is it so important to leave it to a professional rather than attempting to do it yourself?
Hardwood flooring is susceptible to wear and tear
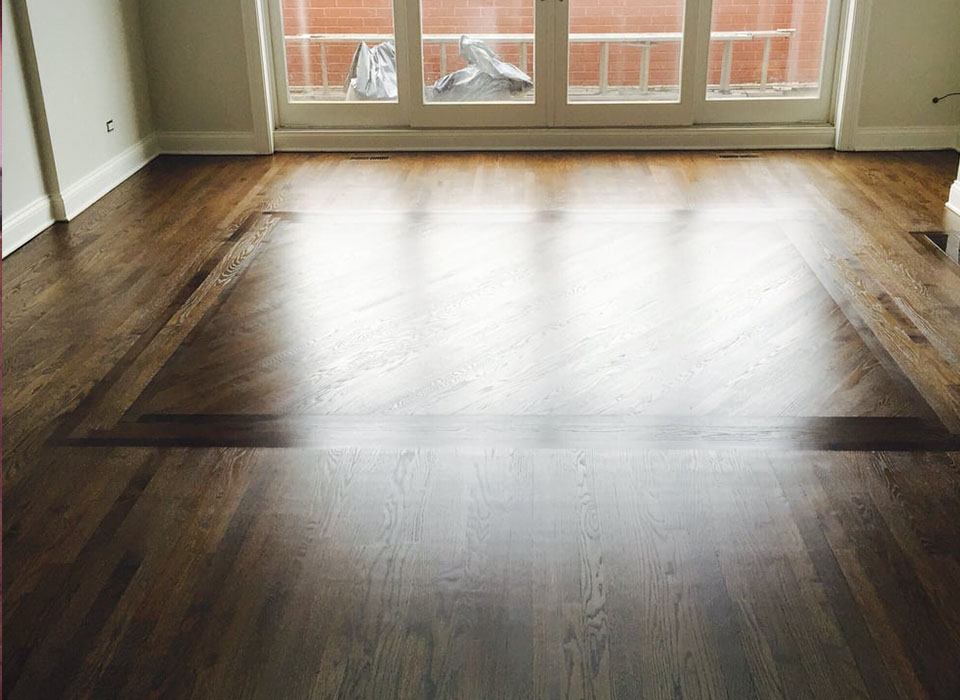
Although hardwood is durable and will stand the test of time it is possible to scratch and dent and for the floor to become grey and dull over time. A floor takes some serious punishment when you consider the footfall of people coming and going, children playing, pets running around, vacuuming, furniture moving and everything else it will encounter on a daily basis. Whilst regular dusting, sweeping, vacuuming, mopping and cleaning up stubborn stains will keep your floor clean, a build-up of oil and grime over time will leave it with a dull and grey appearance.
Sanding to remove dents and scratches
Whilst you may take great care to look after your floor there will be occasions when it may incur accidental damage. This can be just from every day wear and tear or from stiletto heels, dog claws, children’s toys and furniture being dragged across the room. If your floor has sustained damage then sanding and re-finishing is the only way to get rid of the damage. If you are worried about stripping away too much of the wood then you don’t need to worry. Sanding a pre-finished hardwood floor involves sanding away a paper thin layer off the top and then re-staining.
Re-staining the floor
You can, at this point, choose to change the colour of your hardwood floor with a different colour stain but make sure you seek advice from a professional first. There may be certain shades that won’t work well with your floor and will look unnatural. You want to ensure that the floor looks natural and that you don’t end up having to sand the floor all over again. If you choose not to re-stain the floor but stick with the original then you just need to add approx. 3 coats of polyurethane.
Full re-finish vs maintenance coat
There are two types of re-finishing which will vary in terms of effort and cost. If there are no gouges or dents in your wood floor then you may be able to get away with a light re-finish or maintenance coat. This involves a light sanding and then a re-seal with polyurethane. If however the floor has slightly more wear and tear you will need to have a full re-finish. This can be done yourself but it is time consuming, messy and the finish will not be as good as if a professional had completed it. It is strongly advisable to hire a professional to undertake the work. That way you can leave the room and let them get on with the messy work.
Things to consider
You may need to touch up some paint work afterwards though as even the most careful workers may be unable to avoid dinging the walls when they sand the edge of the room.
The room will need to be well ventilated – that much sanding will undoubtedly mean that there is a lot of dust in the air (which a professional will have the tools to reduce). Make sure all the windows are open and that you leave the room well ventilated after the polyurethane has dried. If it is a child’s room then you may want to move them out of the room for a few days to let the dust settle and any smells disappear.
Don’t put any furniture back in until the floor re-sealant is fully dry. If you are having any room in the house re-finished it is worth considering that the room will be out of action for at least a day if not more.
If you want a different colour now is the time to explore your options.
Sources
Woodworking Stack Exchange, Retrieved Jan 2017, How to remove dust after sanding
http://woodworking.stackexchange.com/questions/1080/how-to-remove-dust-after-sanding-before-applying-paint-oil-glue
Homeguides, Retrieved Jan 2017, Change existing wooden floor colour
http://homeguides.sfgate.com/change-existing-wooden-floor-color-27293.html